The "Status" page
Show the status of the project and showcase the key metrics that are typically reported to the sponsors. Post a weekly status to keep history of the progress. Each section has a “graph” functionality that shows all historical values as you post them.
You can show/hide and move around components in the the Status page. If you have hidden a component, simply click on the “gear” and from there you can restore the view.
IMPORTANT: Status values, including manually edited ones, are used in the various dashboards across the platform.
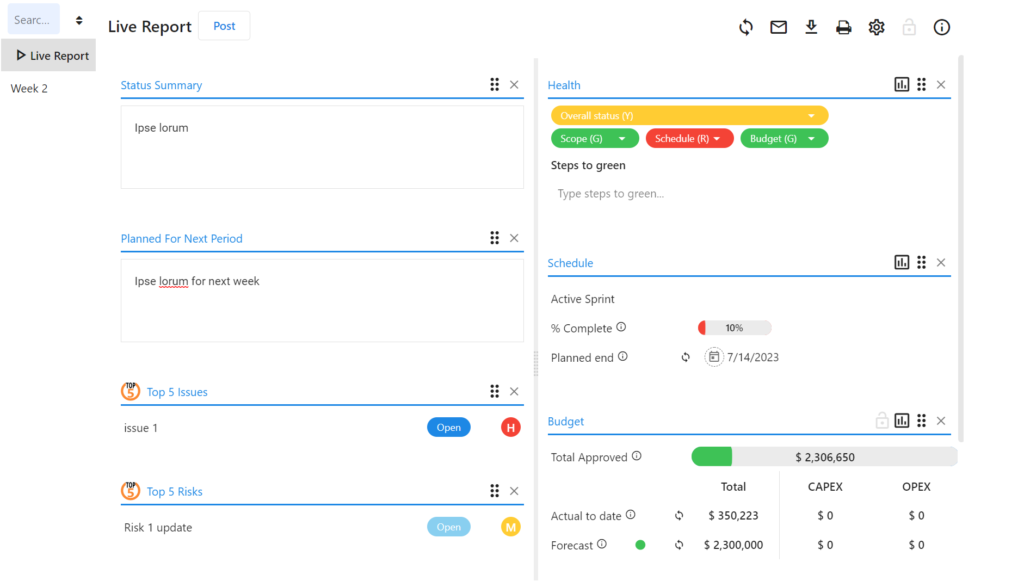
This is a “live” page that is always in-sync in real-time. At anytime, you can post a status and it is capture at that moment in time. If required, all values can be manually edited and can be re-synced at anytime. The icon  indicates that a value has been edited manually; to re-sync to real-time data, simply click the icon.
To suit your needs, the Status content can be customized by hiding and/or rearranging the order of the sections.
Top 5
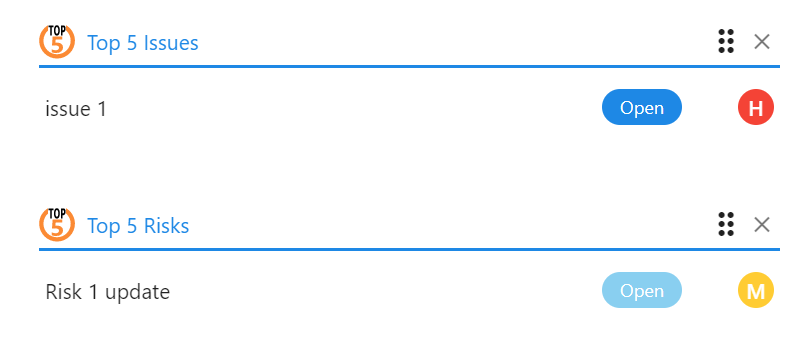
To keep focus on what is important, in the status we introduced the “Top 5” concept. Only show the Top 5 Issues and Risks, to ensure the sponsor are focused on what is really important. The data comes automatically from the RAID and can be configured there.
Health
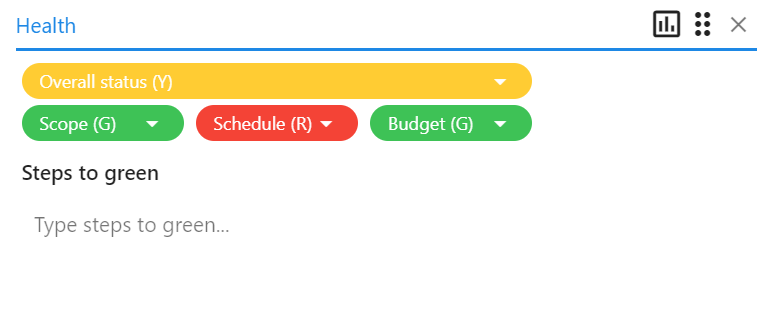
Set your project to the correct status “color” to clearly showcase to the sponsor(s) where the project stands.
Schedule
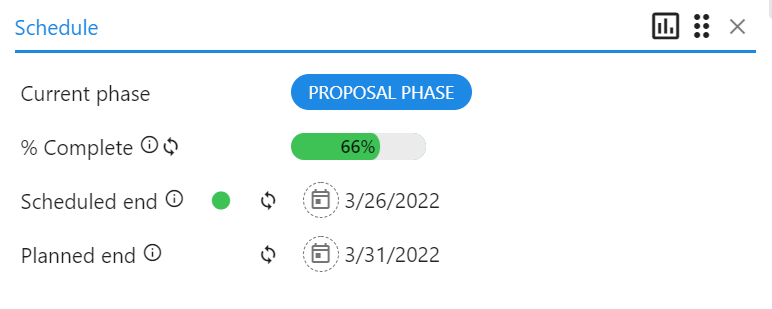
This is the schedule summary with data coming from the Schedule page (Scheduled) as well as the initial baseline (Planned) set in the Home page.
Budget
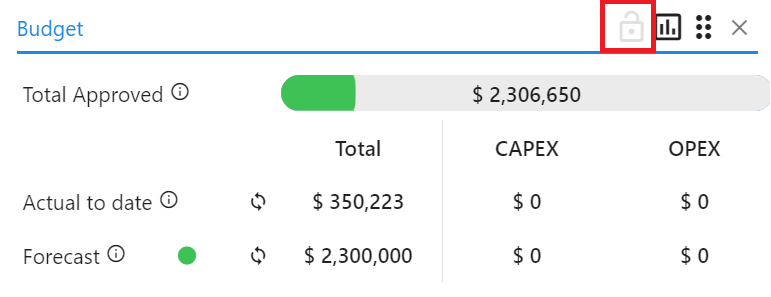
This is the budget summary with data coming from the Budget page (Actual and Forecast) as well as the initial baseline (Approved) set in the Home page.
The locket functionality allows the Project Manager to selectively hide the section from the project team in case, if that is required.
If you manually edit a budget value, and you don’t see the “out of sync” icon, it means that value has not been set (yet) in the budget page.
Milestones

Milestones can be selectively showcased in this section. You can add them manually and/or select them from the Schedule.
Timeline
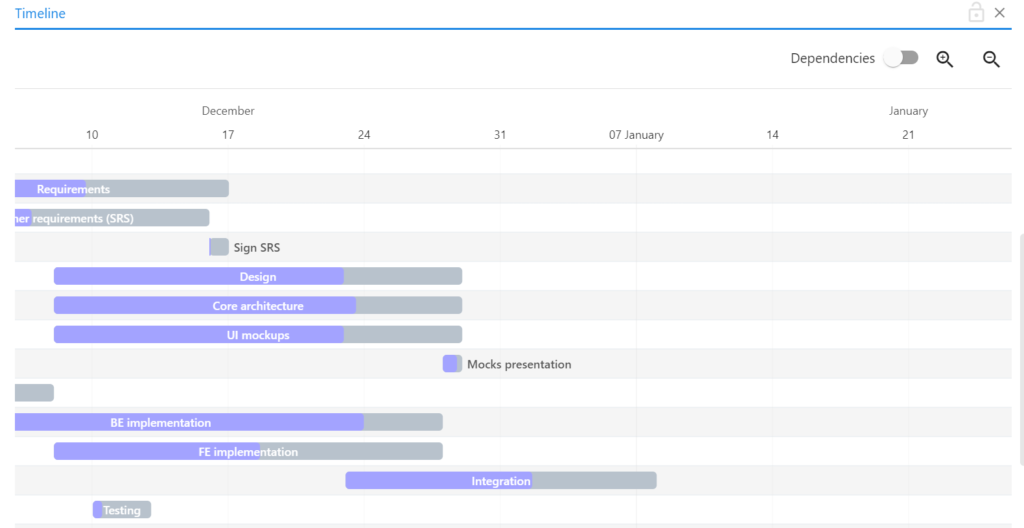
The Timeline is automatically created for you. In the Schedule page, simply select which task you want in the Timeline and that is it.


