The "RAID" page
Track all activities and follow-ups in the RAID page. Assign resources, update each task status and always be on top of everything that is happening in your project. All RAID items are automatically displayed in the various dashboards to help you manage your time in the best way possible.
For a better experience, each RAID component can be visualized as either a Card view or a Table view. The data is the same, the choice is yours.
Select Risks, Actions, Issues or Decisions to visualize the corresponding component.
Card view
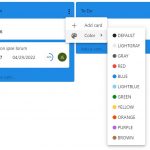
Classic kanban style view where you can create and move items around depending on their status. You can add/remove list to customize your project and each list can be tailored with a color of your choice for a better visual experience.
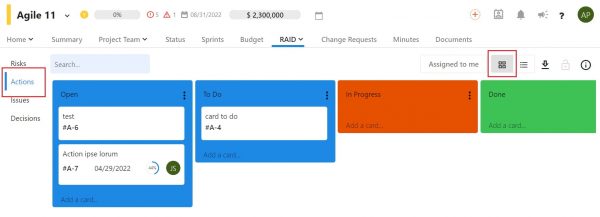
Each card is customized based on the RAID component you select. All card have a Comment section where you can interact with your assigned resource instead of using email back and forth.
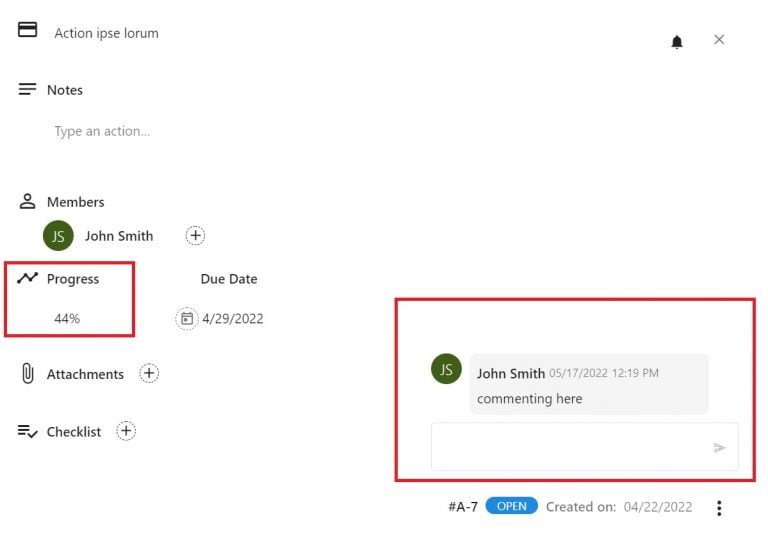
Table view
The Table view mimics a classic spreadsheet-like experience and provides a unified single view of the selected RAID component.
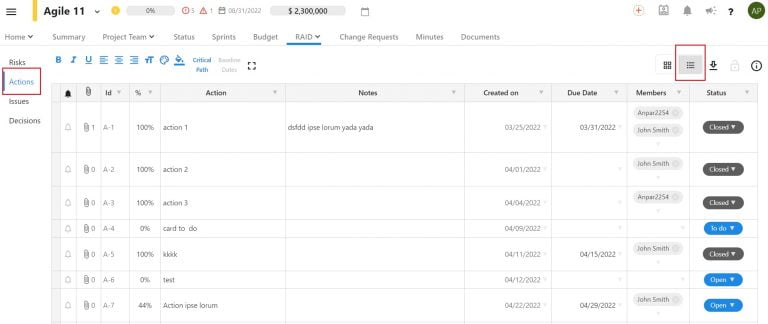
The "reminder" bell
Attached to any RAID item, you can add a reminder for yourself. This helps with follow ups and ensure to never forget anything. Each reminder is personal and it not displayed for other users. When the times come, a popup will alert you as well as the notification tray.
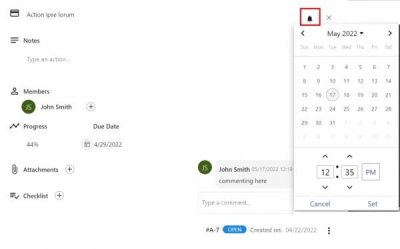
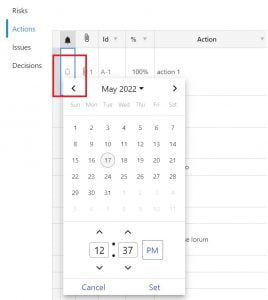
All reminders can be managed in your personal Dashboard (My Dashboard)

The "Decision" component
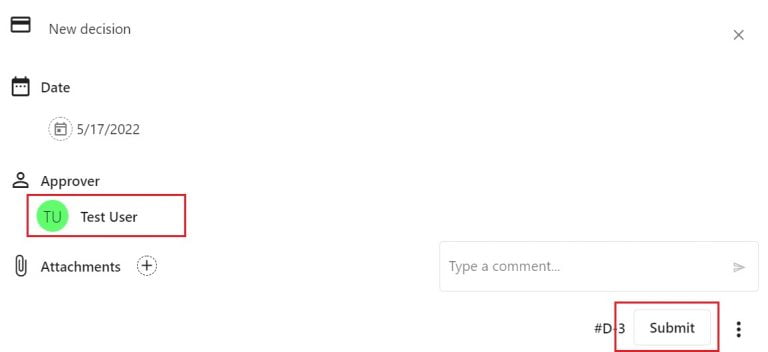
When a decision is made, you can log it in the RAID-Decision component. For a decision to be effective, someone needs to take accountability for this and therefore, any decision needs to go through an approval workflow.
When you create a decision, you need to assign an “approver”. When someone is assigned, you can submit the decision for it to be approved (or rejected). While the decision is submitted, it will go into a “Pending” status until the approver actions it.
