
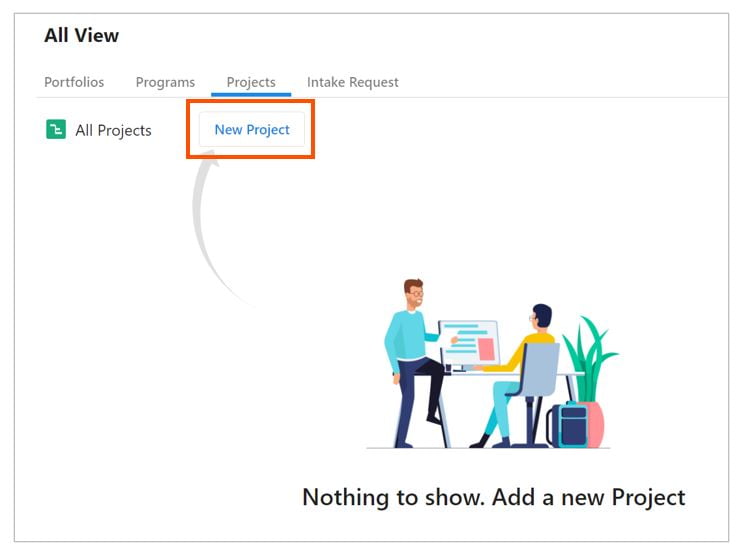
The first step is to create a new Project. You can create it in three ways, all yielding the same outcome:
- From the “All project” main page by clicking on the “New Project” button
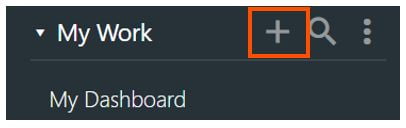
- From the main menu All Project + icon

- From the main menu My Work + icon
Next step is to select, from the dropdown, what type of Project you want to create (Traditional or Agile). If you want to create a new project from an existing template, please ensure your Site Admin has created templates to suit your Project Management process.
Then give it a name and click on Create. 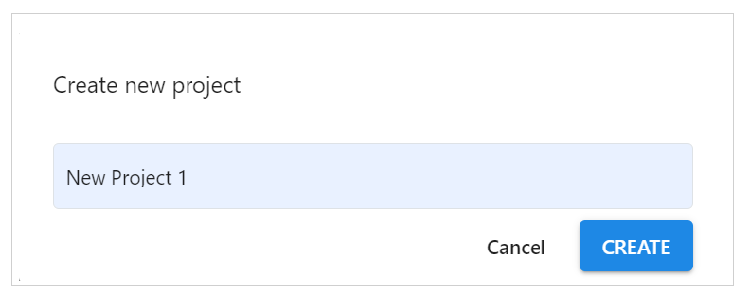
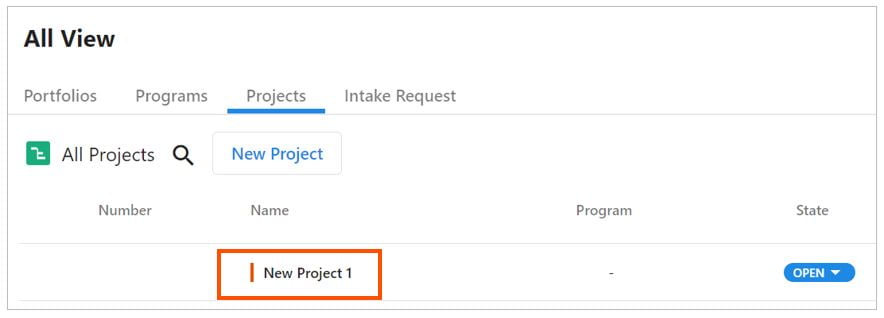
All project you have access are displayed in the main menu “All Projects” ![]() page. Click on the name and the Project will open to its Home page
page. Click on the name and the Project will open to its Home page
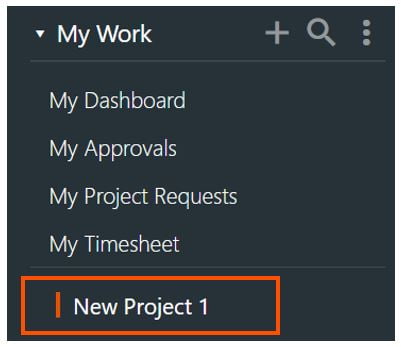
Additionally, every Project where you are a resource (PM, Sponsor or Team Member) will be shown on the main menu under My Work
Click on the name and the Project will open to its Home page


